
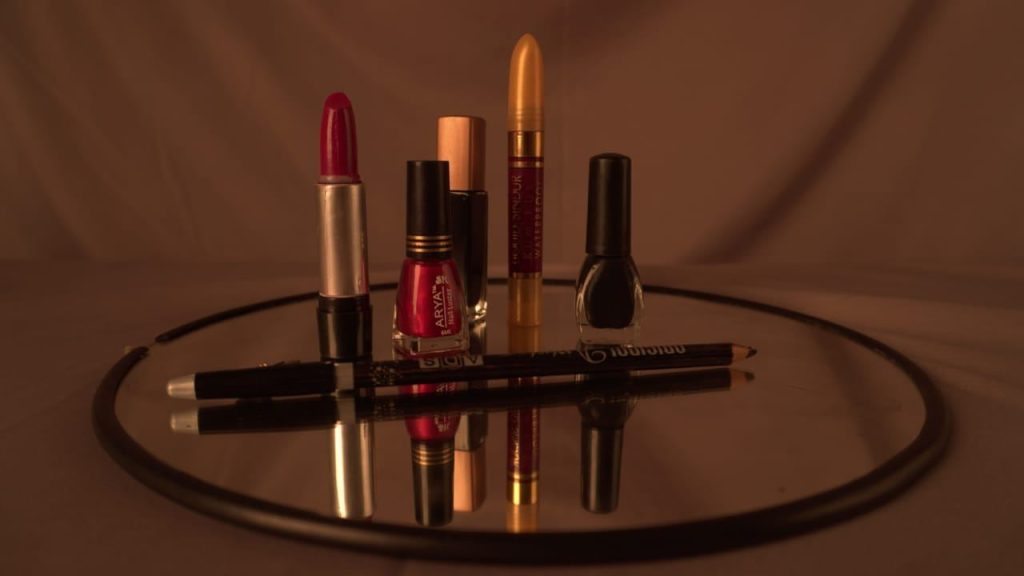
Anyone who has taken a selfie after carefully applying makeup knows the frustration: the face in the mirror looked balanced, yet the photograph appears pale, shiny or strangely orange. The makeup has not changed — the lighting has. Cameras record colour and shadow differently from the human eye, and the type, direction and warmth of light can redraw a face as surely as a different foundation shade.
Understanding a few basics helps whether you are filming a work call, shooting content or preparing for photographs at an event. The United States Department of Energy explains in its guide to LED lighting that bulbs are rated by colour temperature, from warm yellow tones around 2700 Kelvin to cool, bluish daylight above 5000 Kelvin. Skin photographed under warm light gains extra red and yellow, while cool light can make the same face look grey and drain blush and lipstick of their colour.
Colour Temperature Rewrites Your Foundation
Foundation matched under warm bathroom bulbs may look too yellow in daylight and ashy under office fluorescents. Makeup artists therefore check a finished face near a window whenever possible, because natural daylight reveals the truest colour. If you regularly film indoors, a neutral daylight-balanced light, roughly 4000 to 5000 Kelvin, is the safest choice for accurate skin tones. Mixed lighting is the hardest to fix: a warm lamp on one side and a cool window on the other can split the face into two colours that no filter fully repairs.
Our makeup tutorials include shade-matching checks you can repeat under different bulbs before an important shoot or event.
Direction and Hardness Shape the Face
Overhead lighting, common in offices and bathrooms, casts shadows under the eyes, nose and chin, exaggerating tiredness and making concealer look heavy. Light coming from directly in front softens those shadows, which is why ring lights and large softboxes are standard for beauty filming. Side lighting does the opposite: it emphasises texture, pores and any uneven powder, so skin preparation and light, well-blended base products matter more.
Hard light from a small, distant source creates sharp shadows and bright highlights on the forehead and nose. Diffused light — through a softbox, a sheer curtain or on a cloudy day — spreads more evenly and is far more forgiving of fine lines and dry patches. Moving just a step away from a harsh ceiling light, or turning to face a large window, can improve a photograph more than another layer of product.
Adjust the Makeup, Not Just the Camera
Once you know your lighting, small adjustments go a long way. Under bright or cool light, add a touch more blush and lip colour than feels natural in the mirror, because cameras typically mute colour by about a fifth. Under warm light, go easier on bronzer, which can turn muddy. A light dusting of powder on the forehead, nose and chin controls the shine that strong light picks up, while keeping cheeks slightly luminous stops the face looking flat.
Finally, always test. Take one photograph or a short clip in the exact light you will be seen in, check it on the screen you will be viewed on, and adjust once. That thirty-second check, described in more detail in our beauty section, is the professional secret behind makeup that looks as good on camera as it did in the mirror.
